So, you’ve been assigned a school project on making a volcano? Awesome! Get ready for a fun and exciting adventure that combines science and creativity. In this guide, we’ll show you how to make a volcano for your school project, step-by-step.
Creating a volcano is a classic project that never fails to impress. Not only will you learn about the forces of nature and how volcanoes work, but you’ll also have the chance to showcase your artistic skills. Get ready to erupt with excitement as we dive into the world of volcanoes!
In this simple and easy-to-follow guide, we’ll walk you through the materials you’ll need, the steps to construct your volcano, and even how to make it erupt. So, grab your goggles, put on your scientist hat, and let’s embark on a volcanic journey that will leave your classmates in awe!
1. Start by building a base with cardboard and molding it into a volcano shape.
2. Mix together 2 cups of baking soda, 1 cup of vinegar, and a few drops of red food coloring in a plastic bottle.
3. Place the bottle upside down in the volcano base and quickly step back.
4. Watch in awe as the volcano erupts with a colorful explosion of foamy lava.
5. Take pictures and share your masterpiece with classmates and teachers. Have fun and enjoy the science behind it!
How To Make a Volcano for School Project: A Fun and Educational Activity
Are you looking for an exciting and educational project for your school assignment? Making a volcano for a school project is not only a great way to showcase your creativity, but it also provides a hands-on learning experience about the Earth’s geological processes. In this article, we will guide you through the step-by-step process of making a volcano for your school project. Get ready to erupt with excitement!
Gather Your Materials: Preparing for Volcano Construction
Before you dive into the construction process, it’s important to gather all the necessary materials. Here’s what you’ll need:
Materials:
- A sturdy base, such as a cardboard box or a wooden board
- Newspaper or papier-mâché mixture
- Plaster of Paris or salt dough
- An empty plastic bottle
- Pipe cleaners
- Red, orange, and yellow acrylic paint
- A paintbrush
- Baking soda
- Vinegar
- Optional: food coloring for extra visual effects
Once you have gathered all the materials, you are ready to begin the construction process.
Step 1: Building the Volcano Structure
The first step in making a volcano for your school project is to build the structure of the volcano. Start by placing the empty plastic bottle in the center of the base, ensuring it is firmly secured. This will serve as the crater of your volcano. Next, use crumpled newspaper or papier-mâché mixture to shape the sides of the volcano around the bottle. Gradually build up the layers until you achieve the desired height and shape. Allow the structure to dry completely before moving on to the next step.
Alternatively, you can use plaster of Paris or salt dough to construct the volcano. Simply mold the material around the bottle, forming the shape of a volcano. Remember to leave the top of the bottle exposed to create the crater.
Step 2: Adding Detail and Texture
Now that the basic structure of your volcano is complete, it’s time to add some detail and texture. Use pipe cleaners to create rocks or trees around the base of the volcano. You can also use additional papier-mâché to create bumpy texture on the sides of the volcano. Let your creativity shine as you design the landscape around your volcano.
Once you are satisfied with the overall appearance of your volcano, allow it to dry completely before moving on to the final step.
Step 3: Painting and Decorating
The final step in the construction process is to bring your volcano to life with color. Use acrylic paint in shades of red, orange, and yellow to create the fiery appearance of an erupting volcano. Apply the paint in layers, allowing each layer to dry before adding the next. Don’t forget to paint the crater at the top of the volcano with a dark shade of black or brown for a realistic touch.
For extra visual effects, you can add food coloring to your eruption mixture (baking soda and vinegar) to create a vibrant eruption. Simply mix a few drops of food coloring with the vinegar before adding it to the volcano.
Tips for a Successful Volcano Eruption
To ensure a successful eruption during your school presentation, keep the following tips in mind:
1. Eruption Mixture:
Use a mixture of baking soda and vinegar for the eruption. Start with a small amount of baking soda in the crater, and then slowly pour vinegar into the bottle. The reaction between the two will create a foaming and bubbling effect, mimicking a volcanic eruption.
2. Safety Precautions:
Perform the volcano eruption outside or in a well-ventilated area to avoid inhaling vinegar fumes. It’s also a good idea to wear protective eyewear and have adult supervision, especially when handling the eruption mixture.
3. Presentation:
During your school presentation, explain the science behind your volcano and the eruption process. Discuss the role of magma, gas buildup, and pressure in causing volcanic eruptions. This will not only impress your classmates but also enhance your understanding of geological phenomena.
Exploring the World of Volcanoes
Making a volcano for your school project is just the beginning. Take this opportunity to delve deeper into the fascinating world of volcanoes. Research famous volcanoes, such as Mount Vesuvius or Mauna Loa, and explore their impact on the environment and human civilizations. You can create a display board to accompany your volcano, featuring pictures, facts, and illustrations about volcanoes around the world.
Remember, this project is not just about creating an impressive visual display. It’s about understanding the science and geological processes behind volcanic eruptions and appreciating the incredible forces of nature. So, gather your materials, let your creativity flow, and embark on an exciting journey into the world of volcanoes!
“`html
Key Takeaways – How To Make a Volcano for School Project?
- Choose a suitable base for your volcano, such as a soda bottle or modeling clay.
- Create the volcano shape using clay, paper mache, or other materials.
- Add vinegar and baking soda to create the volcanic eruption effect.
- Enhance the volcano with paint, rocks, or vegetation for a realistic look.
- Present your volcano project with a clear explanation of the science behind it.
“`
Remember to always follow the given rules and guidelines to create engaging and optimized content.
Frequently Asked Questions
Looking to create a volcano for your school project? Check out these commonly asked questions to get started!
1. What materials do I need to make a volcano?
To make a volcano, you’ll need a few basic materials. Start with a base, such as a cardboard or styrofoam sheet, to build the structure of your volcano. You’ll also need newspaper or tissue paper to create the texture. For the eruption, grab some baking soda, vinegar, and food coloring. These common household items will help create the volcano effect!
Make sure to gather other necessary supplies such as paint, glue, and brushes to decorate and assemble your volcano. Get creative and use your imagination to make it as realistic and visually appealing as possible!
2. How do I build the structure of the volcano?
To build the structure of your volcano, start by shaping your base material, such as cardboard or styrofoam, into a cone shape. You can also use a plastic bottle as the core and build around it. Secure the base with glue or tape to ensure stability. Once the base is ready, crumple newspaper or tissue paper around it to create the mountain-like appearance of a volcano.
Take your time shaping and molding the paper to achieve the desired texture. Ensure the structure is sturdy enough to withstand the eruption later on. Let the structure dry completely before moving on to the next step.
3. How can I make my volcano erupt?
Making your volcano erupt is the most exciting part! Start by creating the lava mixture. In a container, mix a cup of vinegar with a few drops of food coloring. In a separate container, mix a tablespoon of baking soda with a small amount of water to create a paste. Place the baking soda mixture inside the crater of your volcano structure.
Once everything is ready, pour the vinegar mixture into the crater. The vinegar (an acid) reacts with the baking soda (a base) to produce carbon dioxide gas, resulting in the eruption. Watch as the “lava” flows down the sides of your volcano, mimicking the natural phenomenon!
4. How can I make my volcano more realistic?
To make your volcano look more realistic, consider adding some finishing touches. You can paint the structure to resemble rocks or use textured materials like sand or small stones to create a more natural appearance. Adding greenery, such as trees or shrubs, around the base of the volcano can enhance its overall visual effect.
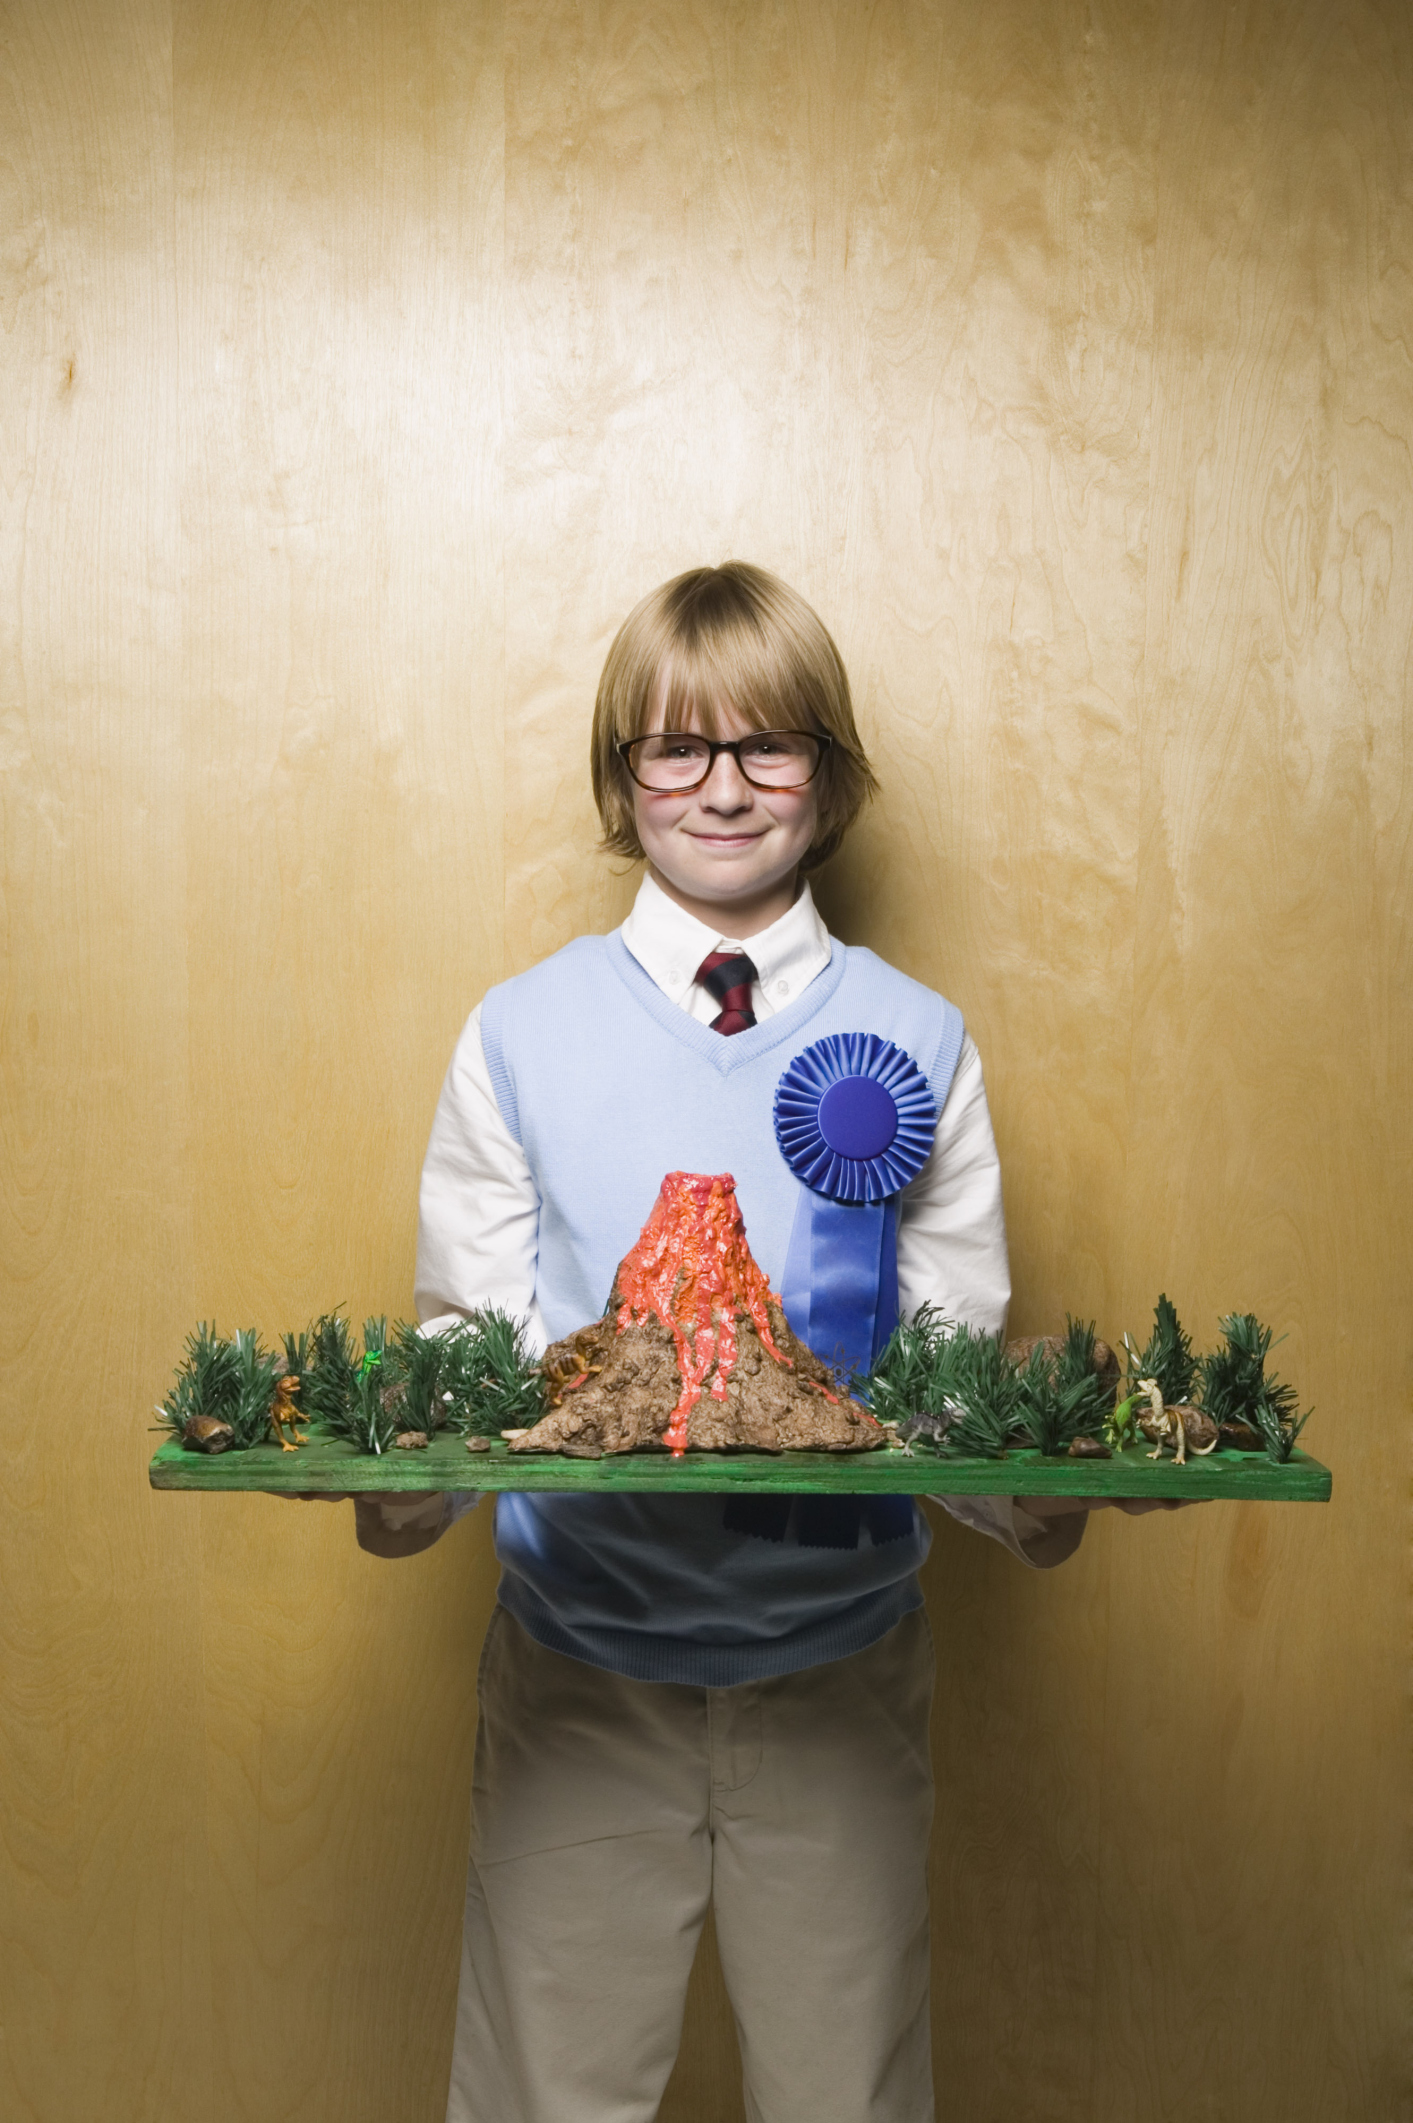
Additionally, you can create a mini landscape around the volcano by using modeling clay or papier-mâché to shape hills, valleys, and even a river. Let your creativity shine by adding other details like miniature dinosaurs or buildings to make it truly unique!
5. Are there any safety precautions I should take?
While creating your volcano, it’s important to prioritize safety. Always work in a well-ventilated area to avoid inhaling any potentially harmful fumes. Remember to wear protective clothing, such as aprons or old clothes, to avoid staining or damaging your regular attire.
When dealing with the eruption, make sure to have a towel or tray ready to catch any overflow from the volcano. Also, be cautious with the vinegar and baking soda mixture, as it can be slippery if spilled. Lastly, have adult supervision, especially when handling sharp tools or working with potentially hazardous materials. Safety first!
Volcano Eruption Project – Fun Science Fair Project by Vanessa
Summary
Now that you know how to make a volcano for a school project, let’s recap what we’ve learned.
First, we explored the materials you need, like a plastic bottle, newspaper, and paint. These items help create the shape and look of your volcano.
Next, we talked about mixing together ingredients for the volcano eruption. Baking soda and vinegar work together to create a fizzy lava effect. But remember to keep this mixture outside the volcano to avoid any mess.
Then, we discussed the importance of safety. Making a volcano can be fun, but it’s crucial to protect your eyes with goggles and have an adult supervise you. Safety always comes first!
Lastly, we learned about the importance of creativity and personalization. You can make your volcano unique by adding colors, landscape features, or even dinosaur figurines. Let your imagination soar!
So, go ahead and create your own volcano masterpiece. Have fun and enjoy the magic of science!